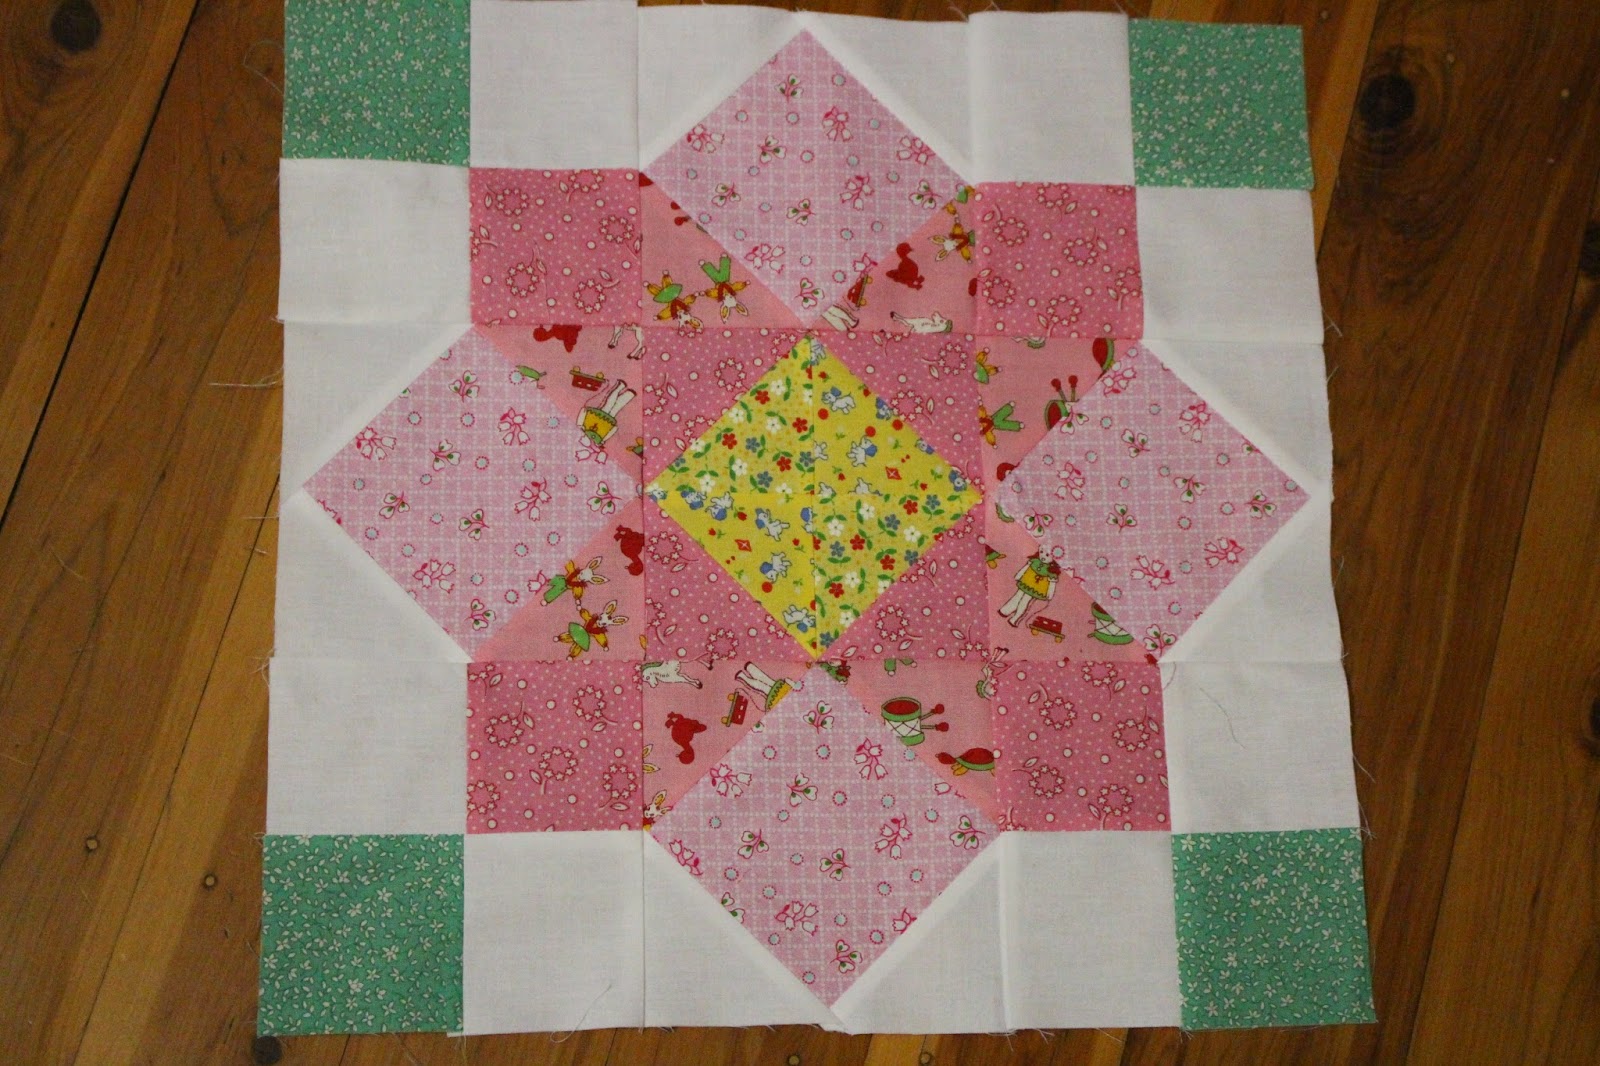
You have probably seen this quilt block appear every now and then on my Instagram account. This is my first project using my 1930's collection, which I have been collecting now for a few years, waiting for the right project. Deciding on the fabrics and the shades has been part of the fun.
A few people have commented on the block so here are the instructions on how to make one....
The block is a simple 9 patch block and comes together quite easily.
Here is what you will need to make one block. Each of the blocks are 15 inches finished. (15 1/2 inches raw)
Using 2 yellow shades of fabrics cut (2) 3 x 3 inch squares and then cut diagonally
Arrange as in the photo below and sew together, matching seams and pressing. Being careful not to stretch the fabric as all the edges are on the bias.
The next section is made up of 3 different shades of pink. (or whatever color you are using) a light, medium and dark shade.
From our light shade cut (4) 4 inch squares
From the medium shade cut (4) 3 inch squares and (2) 3 3/8 inch squares and then cut diagonally. So that you have 4 triangles.
Using the dark shade cut (4) 3 3/8 inch squares and then cut diagonally, So that you end up the 8 triangles.
Using green fabric cut (4) 3 inch squares.
Using white (background fabric) cut (8) 3 inch squares and (4) 3 3/8 inch squares, cut diagonally.
Once you have all the pieces cut and the yellow fabrics sewn we can continue with making the 9 patches.
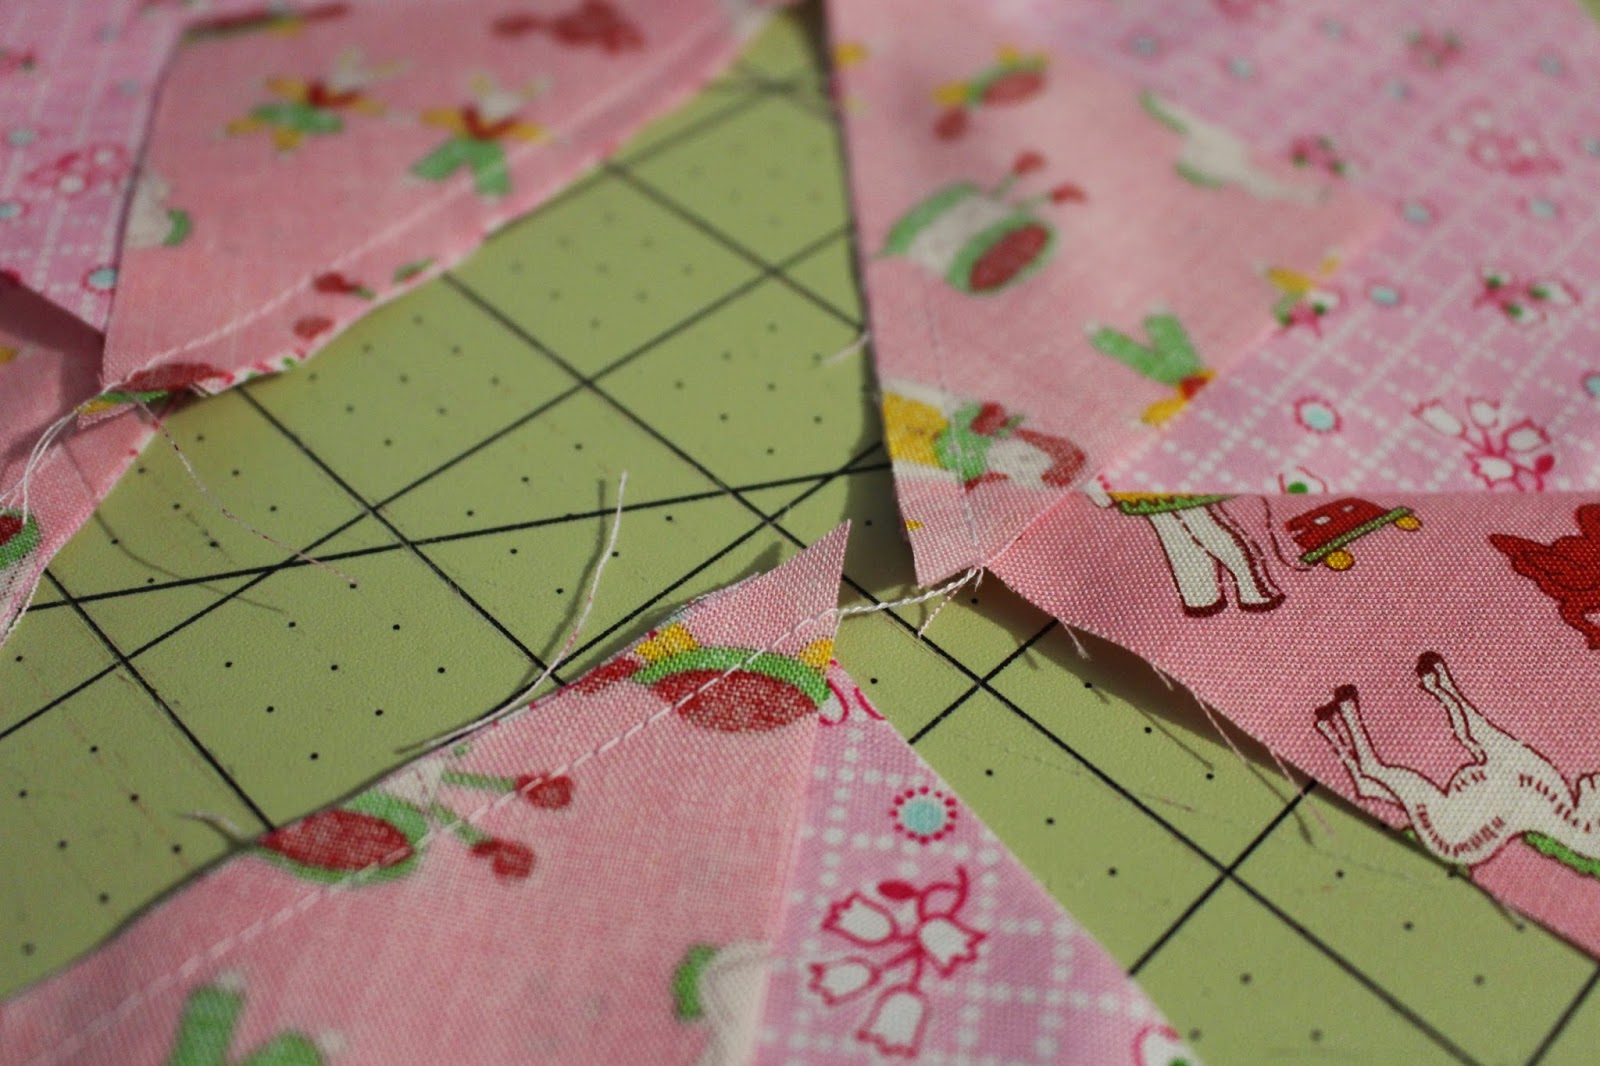
Using the yellow square and the 4 medium shade triangles, with right sides together sew along each side matching centres. I do this by eye or you can mark the centre of each of the yellow edges and triangle edges and match them up.
You will need to follow this next step for all 4 pieces.
Using one of the light shade squares (2) white triangles and (2) dark shade triangles, with right sides together sew each of the triangles one at a time around the square as shown below, matching the centres along the edge.
For speed I chain piece as I sew, so I chain piece triangle 1 then cut and press, then chain piece triangle 2 and so on.
Once you have completed the 4 blocks press and put aside.
You are now up to the corner blocks.
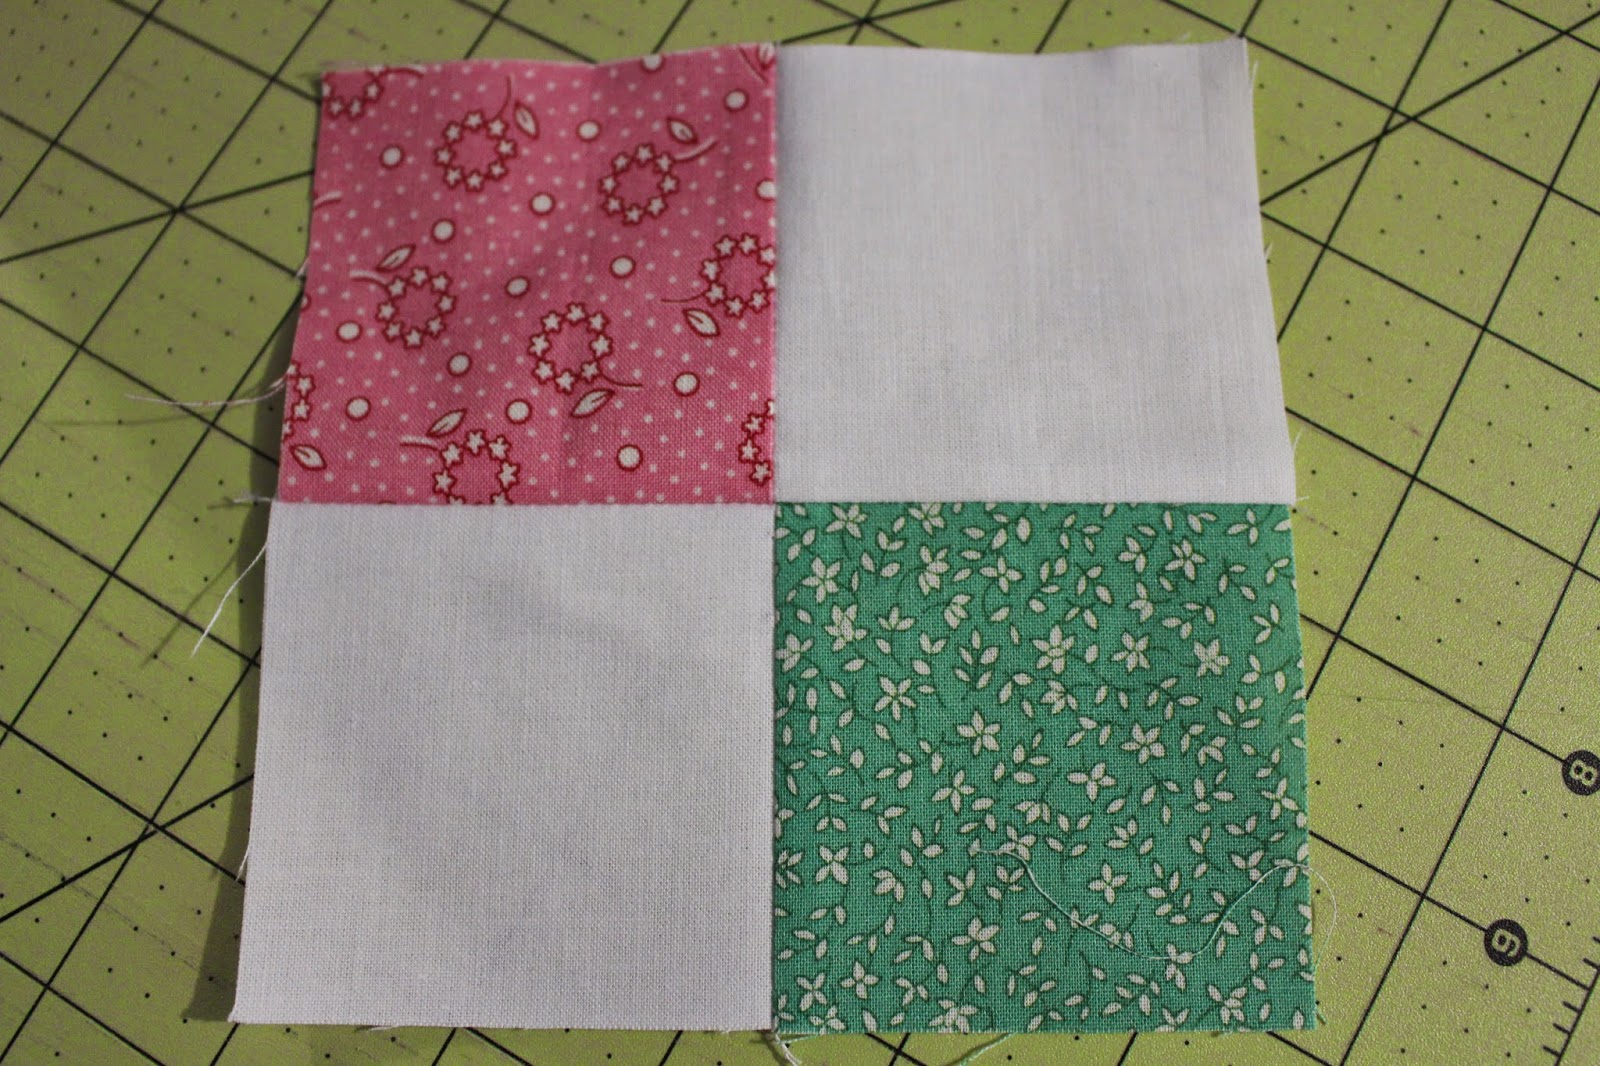
Sew 4 white 3 inch squares to 4 medium shade 3 inch squares. Then sew 4 white 3 inch squares to 4 green 3 inch squares.
and then sew together as in the configuration below. You will have 4 of these blocks.
You now have 9 blocks completed. Cut off any stands of cotton and the little dog ears as they get in the way when sewing the blocks together.
Arrange the blocks as in the photo below. Making sure all the white triangles are facing out.
Divide into 3 rows. Sew the blocks into rows matching the seams and points.
Then sew the rows together matching seams and points.
And there you have it. Your first block is complete.
Hope you enjoy making this block as much as I have. I have made all my blocks now 16 in total and have started on the sashing and sewing together. I will put some photos of the finished quilt when it's completed.
Happy sewing
Filomena xx
Please let me know if I have missed anything in this tutorial so I can fix it. Thanks...
A few people have commented on the block so here are the instructions on how to make one....
The block is a simple 9 patch block and comes together quite easily.
Here is what you will need to make one block. Each of the blocks are 15 inches finished. (15 1/2 inches raw)
Using 2 yellow shades of fabrics cut (2) 3 x 3 inch squares and then cut diagonally
Arrange as in the photo below and sew together, matching seams and pressing. Being careful not to stretch the fabric as all the edges are on the bias.
The next section is made up of 3 different shades of pink. (or whatever color you are using) a light, medium and dark shade.
From our light shade cut (4) 4 inch squares
From the medium shade cut (4) 3 inch squares and (2) 3 3/8 inch squares and then cut diagonally. So that you have 4 triangles.
Using the dark shade cut (4) 3 3/8 inch squares and then cut diagonally, So that you end up the 8 triangles.
Using green fabric cut (4) 3 inch squares.
Using white (background fabric) cut (8) 3 inch squares and (4) 3 3/8 inch squares, cut diagonally.
Once you have all the pieces cut and the yellow fabrics sewn we can continue with making the 9 patches.
Using the yellow square and the 4 medium shade triangles, with right sides together sew along each side matching centres. I do this by eye or you can mark the centre of each of the yellow edges and triangle edges and match them up.
Using one of the light shade squares (2) white triangles and (2) dark shade triangles, with right sides together sew each of the triangles one at a time around the square as shown below, matching the centres along the edge.
For speed I chain piece as I sew, so I chain piece triangle 1 then cut and press, then chain piece triangle 2 and so on.
Once you have completed the 4 blocks press and put aside.
You are now up to the corner blocks.
Sew 4 white 3 inch squares to 4 medium shade 3 inch squares. Then sew 4 white 3 inch squares to 4 green 3 inch squares.
and then sew together as in the configuration below. You will have 4 of these blocks.
You now have 9 blocks completed. Cut off any stands of cotton and the little dog ears as they get in the way when sewing the blocks together.
Arrange the blocks as in the photo below. Making sure all the white triangles are facing out.
Divide into 3 rows. Sew the blocks into rows matching the seams and points.
Then sew the rows together matching seams and points.
And there you have it. Your first block is complete.
Hope you enjoy making this block as much as I have. I have made all my blocks now 16 in total and have started on the sashing and sewing together. I will put some photos of the finished quilt when it's completed.
Happy sewing
Filomena xx
Please let me know if I have missed anything in this tutorial so I can fix it. Thanks...


THIS IS SO GENEROUS OF YOU TO SHARE THIS. I'm MAKING A QUILT FOR A CHILDHOOD FRIEND AND COULDN'T FIGURE OUT WHAT PATTERN TO USE. YOUR POST WAS AN ANSWER TO MY PRAYER. THANK YOU.
ReplyDelete